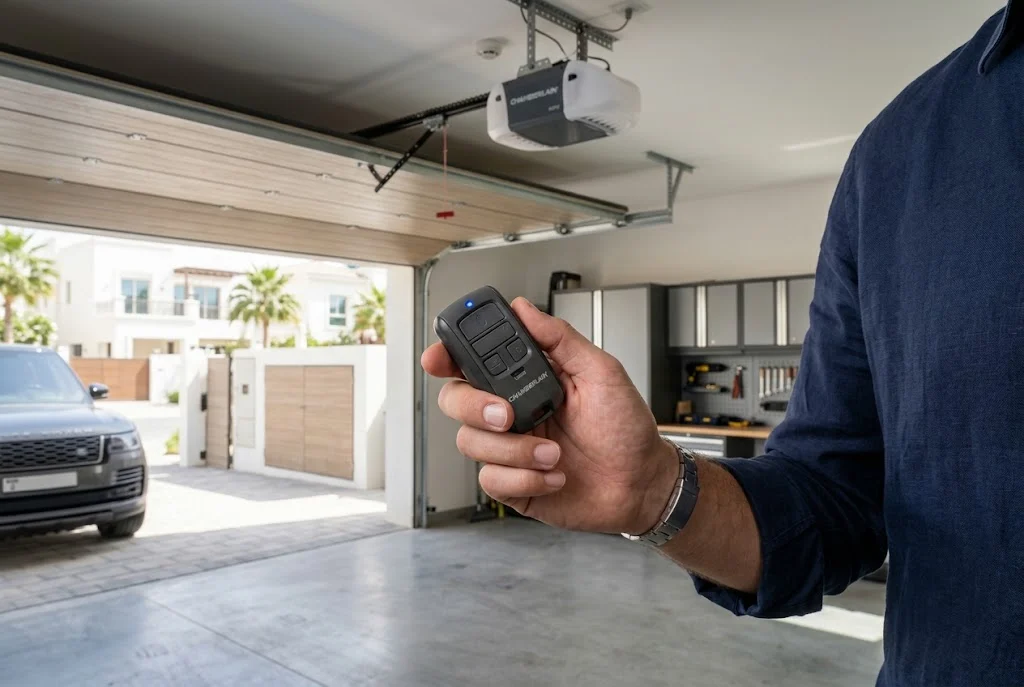
Learning how to reprogram chamberlain garage door remote can save time when a remote stops working, loses its connection, or needs to be paired with a Chamberlain opener again. In most cases, the process involves locating the opener’s Learn button, putting the system into programming mode, and pressing the correct remote button. However, the exact procedure can vary depending on the opener and remote model.
Before you begin, make sure the garage door area is clear of people, vehicles, tools, and other obstructions. The door may move during programming, so safety should always come first. Chamberlain also recommends identifying your opener model and remote compatibility before replacing or programming a remote.
How to Reprogram Chamberlain Garage Door Remote
The most common Chamberlain programming process is straightforward. Your garage door opener normally has a Program or Learn button that allows a compatible remote to be paired with the opener.
1. Locate the Learn Button
Start by looking at the garage door opener unit mounted near the ceiling. The Learn button is generally located on the motor housing or near the antenna wire. Chamberlain openers can use different Learn button colors, so the color may help identify the opener’s technology and compatible remotes.
Knowing the Learn button location is also useful when you need to find the Learn button on a garage door opener before beginning programming.
2. Put the Opener Into Programming Mode
Once you have located the button, press and release the Learn or Program button according to your opener’s instructions. This prepares the opener to receive the signal from the remote.
Do not hold the button longer than necessary unless your specific model instructions require it. Programming procedures can differ between Chamberlain opener generations, so checking the owner’s manual is the safest approach when the button sequence is unclear.
3. Press the Remote Button
After activating programming mode, press and hold or press and release the button on the Chamberlain remote that you want to assign to the opener, depending on the remote model. The opener may respond by flashing its light, clicking, or activating the door.
Once the opener confirms the programming sequence, release the remote button and wait briefly before testing it. A successful pairing should allow the selected remote button to operate the garage door normally.
4. Test the Remote
Stand a safe distance away from the garage door and press the programmed button once. The door should respond as expected. Test the remote from both inside and outside the garage to make sure the signal remains reliable.
If nothing happens, repeat the programming process carefully. Also check whether the remote is the correct model or a compatible replacement for your Chamberlain opener.
How to Reset Chamberlain Garage Door Remote
Many homeowners use the phrase how to reset chamberlain garage door remote when they actually mean clearing old remote programming from the opener. These are related but slightly different tasks.
Resetting a remote can involve removing the opener’s stored remote codes rather than simply pairing one remote again. Because clearing memory can affect every previously programmed remote, do not erase the opener’s memory unless you are certain that you want to remove the existing remote assignments.
For security-related situations, such as losing a remote, changing access control, or moving into a new property, clearing old remotes and then programming the authorized remotes again can be useful. Always follow the instructions for your specific Chamberlain opener model.
Reset Versus Reprogramming
Reprogramming usually means pairing a remote with the garage door opener again. Resetting can refer to clearing stored remote codes or starting the programming process over after an unsuccessful attempt.
If your existing remote works but you simply want to pair it again, reprogramming is usually the more appropriate approach. If you believe an old remote should no longer operate the door, investigate the opener’s remote-memory reset procedure instead.
How to Reprogram Chamberlain Garage Door Opener Remote After Battery Replacement
A battery replacement does not always mean that the remote needs to be completely reprogrammed. In many situations, replacing a weak battery simply restores the remote’s power. However, if the remote still does not communicate with the opener afterward, pairing it again may resolve the issue.
Before attempting a full reset, make sure the replacement battery is installed correctly and is the correct type for the remote. A weak or incorrectly installed battery can make a properly programmed remote appear faulty.
Our guide to garage door remote battery replacement can help you check this part of the troubleshooting process before changing programming settings.
How to Reprogram a Chamberlain Garage Door Remote When It Stops Working
If your Chamberlain remote suddenly stops operating the opener, do not immediately assume that programming has been erased. Several other issues can produce the same symptom.
First, test the remote close to the opener. If it works at a short distance but not from farther away, the problem may involve the battery, signal strength, interference, or the remote itself. If the remote does not work at all, try another compatible remote or the wall-mounted control panel if available.
You can also review our guide to Chamberlain garage door opener not responding to remote for additional troubleshooting steps.
Check the Remote Battery
A weak battery is one of the easiest problems to overlook. Replace it with the correct battery and make sure the terminals are making proper contact.
Check Remote Compatibility
Not every garage door remote works with every opener. Chamberlain offers several remote families and compatibility depends on the opener’s technology and model. Before purchasing a replacement, compare the opener and remote specifications carefully.
Our Chamberlain garage door opener remote guide can help you understand the different remote options and compatibility considerations.
Try Reprogramming Again
If the battery and compatibility appear correct, repeat the programming procedure. Perform each step carefully and allow the opener enough time to enter and exit programming mode.
How to Set Chamberlain Garage Door Remote Correctly
People searching for how to set chamberlain garage door remote are often looking for the same basic pairing procedure. The key is to match the remote to the opener rather than treating every Chamberlain remote as identical.
For a standard setup, keep the remote near the opener, activate the opener’s programming mode, select the desired remote button, and confirm that the opener accepts the signal. Afterward, test the door several times before relying on the remote for daily access.
If you are adding a second remote, avoid changing unrelated opener settings. Simply follow the compatible remote’s programming instructions whenever possible.
What to Do If Chamberlain Remote Programming Fails
Repeated programming failures usually mean there is another issue that needs attention. Start with the simplest checks before assuming that the opener has a major fault.
Confirm the Opener Has Power
Make sure the garage door opener is receiving electrical power. If the opener itself is not responding to the wall control or other controls, remote programming may not be the primary problem.
For broader opener problems, see our guide to garage door opener not working.
Verify Remote Compatibility
Replacement remotes should be matched to the opener’s technology. Chamberlain’s official compatibility resources show that Learn button colors and opener technology can be important when selecting a remote.
Check Whether the Remote Is Already Programmed
A remote may already be assigned to the opener. In that case, repeatedly trying random button combinations can create confusion. Follow the correct instructions for the exact remote and opener combination instead.
Inspect the Remote for Physical Damage
A cracked casing, damaged buttons, corrosion, or liquid exposure can prevent a remote from sending a reliable signal. If programming works inconsistently, inspect the remote closely and consider testing another compatible unit.
Can You Reprogram a Chamberlain Remote Without Erasing Everything?
In many situations, yes. Pairing a compatible remote does not necessarily require you to erase the entire opener memory. That is why it is important to distinguish between adding or reprogramming one remote and performing a complete memory reset.
If you have several family members using different remotes, avoid a full reset unless necessary. Otherwise, you may have to program every authorized remote again.
For users comparing different remote options, our guide to universal garage door remotes versus brand-specific remotes explains the practical differences before you purchase another controller.
When to Replace a Chamberlain Garage Door Remote
Reprogramming is not always the best solution. If the remote has suffered physical damage, repeatedly loses its signal, has severely worn buttons, or fails even after a fresh battery and correct programming, replacement may be more practical.
Before ordering a replacement, identify the opener model, Learn button color or technology where applicable, and the existing remote model. Chamberlain provides compatibility information for its replacement remotes, making it easier to select a suitable controller.
You can also review our garage door remote replacement guide if your existing controller appears to be beyond repair.
Safety Tips Before Reprogramming a Chamberlain Remote
Garage doors are heavy moving systems, so programming should be treated as a safety-related task rather than a simple electronic setup.
Keep children and pets away from the door while you work. Remove vehicles and objects that could block the opening. Never place yourself beneath a moving door, and stop immediately if the opener behaves unexpectedly.
For model-specific programming instructions and support documentation, consult Chamberlain’s official support resources.
Final Thoughts on Reprogramming a Chamberlain Remote
Learning how to reprogram chamberlain garage door remote is usually a manageable task when you identify the correct opener, use a compatible remote, and follow the proper programming sequence. Start by checking the battery and compatibility, then locate the Learn button and complete the pairing process carefully.
When the remote is still unresponsive after repeated attempts, look beyond programming. Battery problems, incompatible remotes, damaged controllers, opener faults, or other garage door issues may be responsible. Using a systematic troubleshooting process can help you solve the problem without unnecessarily replacing working equipment.
For a broader understanding of remote programming, you can also explore our guide on how to program a garage door remote and compare it with other remote-specific solutions across the site.
