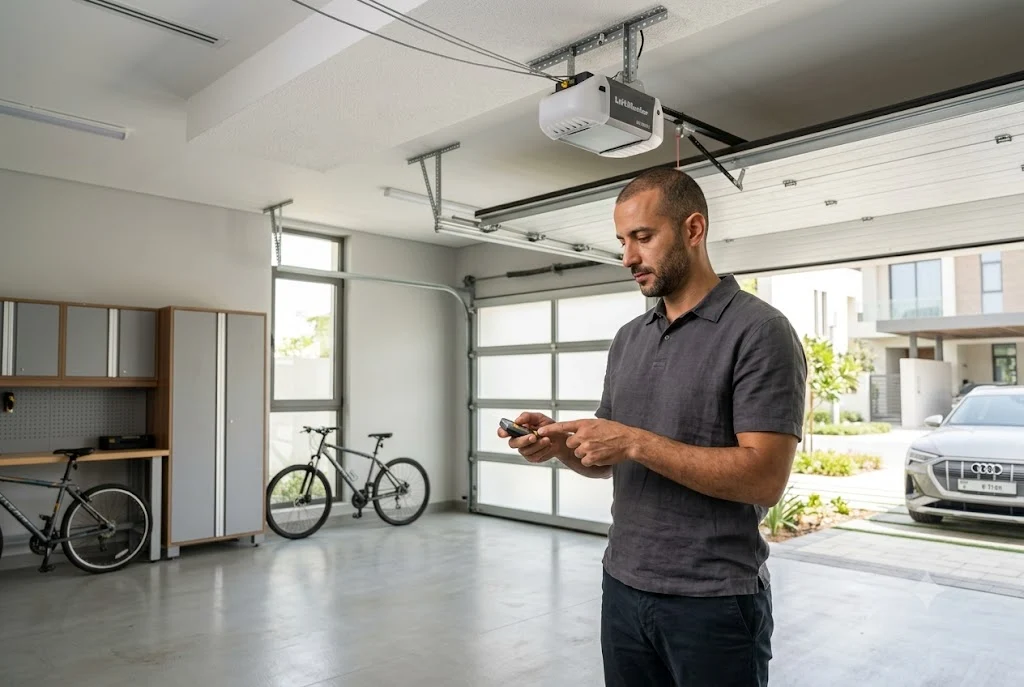
Understanding how to program liftmaster garage door remote devices is essential for homeowners who want reliable and secure access to their garage. Whether you have purchased a new remote, replaced an old one, or need to reconnect an existing transmitter after a reset, proper programming ensures smooth communication between the remote and the opener.
LiftMaster is one of the most widely used garage door opener brands worldwide. Its systems are known for security, durability, and advanced access technology. Fortunately, programming most LiftMaster remotes is a straightforward process when the correct steps are followed.
This guide explains how LiftMaster remote programming works, common setup procedures, troubleshooting methods, and when a reset may be necessary.
How LiftMaster Garage Door Remotes Work
Before learning how to program a liftmaster garage door remote, it helps to understand how the system operates.
A LiftMaster remote sends a wireless signal to the garage door opener’s receiver. Once paired, the opener recognizes the signal and performs the requested action, such as opening or closing the garage door.
Most modern LiftMaster systems use rolling code technology, which changes the access code after every use to improve security.
When You Need to Program a LiftMaster Garage Door Remote
You may need to program liftmaster garage door remote devices in several situations:
- Installing a new remote
- Replacing a lost remote
- Adding a remote for another family member
- Reconnecting after a system reset
- Upgrading to a newer remote model
- Restoring operation after memory deletion
In each case, the remote must be paired correctly with the opener.
Locate the LiftMaster Learn Button
The first step in liftmaster garage door remote programming is locating the Learn button on the opener unit.
The Learn button is typically found:
- On the rear panel of the opener
- Behind the light cover
- Near the antenna wire
- Beside programming indicators
Depending on the opener model, the Learn button may be yellow, purple, red, orange, or green.
How to Program LiftMaster Garage Door Opener Remote
The standard method for how to program liftmaster garage door opener remote devices involves using the Learn button.
Step 1: Prepare the Remote
Install fresh batteries and ensure the remote is functioning correctly.
Step 2: Press the Learn Button
Press and release the Learn button on the opener.
The indicator light will usually illuminate for approximately 30 seconds.
Step 3: Press the Remote Button
Within the programming window, press the button you wish to use on the remote.
Step 4: Wait for Confirmation
The opener light may flash or click to indicate successful programming.
Step 5: Test the Remote
Press the programmed button again and verify that the garage door responds.
This is the most common method used to liftmaster garage door remote program new remotes.
How to Program Multiple LiftMaster Remotes
Most LiftMaster systems support multiple remote controls.
If additional family members require access:
- Repeat the programming process for each remote
- Assign different buttons if desired
- Verify each remote individually
- Maintain a record of authorized remotes
This approach simplifies household access management.
How to Set LiftMaster Garage Door Opener Remote for Multiple Doors
Many modern LiftMaster remotes include multiple programmable buttons.
To how to set liftmaster garage door opener remote controls for more than one garage door:
- Select a separate button for each door
- Program each button individually
- Pair each button with its corresponding opener
- Test all programmed functions
This setup allows one remote to manage multiple garage doors conveniently.
How to Reprogram LiftMaster Garage Door Remote
You may need to how to reprogram liftmaster garage door remote devices if:
- The opener memory was cleared
- The remote stopped communicating
- Security settings changed
- New opener hardware was installed
Reprogramming typically follows the same Learn button procedure used during initial setup.
How to Reset LiftMaster Garage Door Remote
Some homeowners search for how to reset liftmaster garage door remote when troubleshooting access problems.
In many cases, the remote itself does not require a reset. Instead, the opener memory is cleared and the remote is programmed again.
You may need a reset when:
- A remote is lost or stolen
- You move into a new property
- Unauthorized devices must be removed
- The system experiences programming conflicts
How to Reset a LiftMaster Garage Door Remote System
To remove stored remotes from most LiftMaster systems:
- Locate the Learn button.
- Press and hold it for several seconds.
- Wait until the indicator light turns off.
- All stored remotes are erased.
- Program authorized remotes again.
This process effectively performs a liftmaster garage door remote reset from the opener side.
Common LiftMaster Programming Problems
Even when following instructions carefully, programming may occasionally fail.
Weak Battery
A weak battery may prevent proper signal transmission.
Incorrect Timing
The remote button must usually be pressed while the opener remains in Learn mode.
Memory Capacity Reached
Some openers support only a specific number of programmed devices.
Compatibility Issues
Not all LiftMaster remotes work with every opener model.
Signal Interference
Nearby wireless devices can occasionally disrupt programming attempts.
What to Do If Programming Fails
If your programming attempt is unsuccessful:
- Install fresh batteries
- Repeat the process carefully
- Verify remote compatibility
- Inspect the opener antenna
- Confirm power to the opener
- Reset and reprogram if necessary
These steps resolve many common setup issues.
Related Remote Programming Resources
Different garage door brands use different programming procedures. Homeowners may also benefit from these related guides:
- How to Program Garage Door Remote
- Genie Garage Door Opener Remote
- Garage Door Remote Not Working
- How to Program Chamberlain Garage Door Remote
Together, these resources help homeowners understand remote compatibility, troubleshooting, and programming across multiple brands.
Maintaining LiftMaster Remote Performance
Once programming is complete, proper maintenance helps ensure reliable operation.
- Replace batteries regularly
- Keep remotes dry
- Avoid impact damage
- Store spare remotes securely
- Test operation periodically
- Remove lost remotes from memory promptly
Routine care can significantly extend remote lifespan and reduce operational issues.
Final Thoughts
Learning how to program liftmaster garage door remote devices is an important part of maintaining secure and reliable garage access. Whether you are pairing a new remote, replacing a lost unit, or performing a complete system reset, following the correct programming process helps ensure dependable performance.
With proper setup, routine maintenance, and occasional troubleshooting, LiftMaster remotes can provide years of convenient and secure operation for residential garage door systems.
