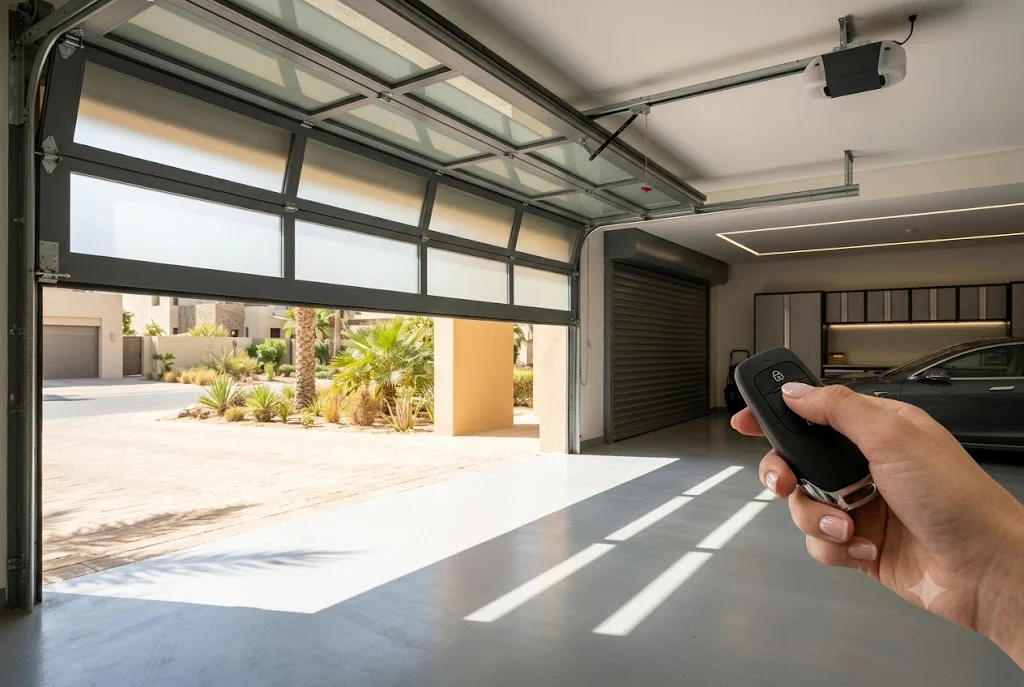
You press the button on your remote control. The overhead door starts to move downward. Then, it stops suddenly. It reverses and travels all the way back up to the top. This scenario is highly frustrating for any property owner. A garage door not closing properly is more than an inconvenience. It is a significant safety risk and a major security vulnerability. In the UAE, an unsealed garage allows blistering summer heat and fine desert sand to fill your space. It also leaves your vehicles and home interior completely exposed to intruders.
When an automated entry system malfunctions, you need a fast solution. Many common issues are easy to diagnose and fix without specialized mechanical training. This comprehensive troubleshooting guide walks you through the most frequent causes of closing failures. Learn how to inspect your safety eyes, verify your wall settings, and manage your hardware safely.
Step 1: Inspect the Infrared Safety Sensors
Modern automated garage entries rely on advanced safety mechanisms to protect your family. The most important component is the electronic safety sensor system. These are two small electronic eyes located at the base of your tracking rails. They sit roughly six inches above the finished garage floor. One eye emits an invisible infrared light beam. The opposite eye receives the signal. If anything breaks this beam while the door travels downward, the system halts operation instantly. The logic board triggers an immediate safety reversal to prevent injury or property damage.
The local environment plays a massive role in sensor failures. Fine desert sand blows across driveways constantly. This airborne dust settles directly on the glass lenses of your safety eyes. A thick layer of dirt blocks the invisible infrared light beam completely. The internal computer assumes an object is trapped beneath the door panel. As a result, it refuses to shut the gateway.
Fixing this issue is simple and takes only a few minutes:
- Locate the safety sensors on both sides of the vertical metal tracks.
- Take a clean, dry microfiber cloth and gently wipe the glass lenses. Remove all accumulated sand, cobwebs, and dark grease residue.
- Look closely at the small LED indicator lights on the back of each sensor housing. One light is usually amber, and the other is green.
- Both indicator lights must glow steadily without flickering. A blinking light indicates a physical misalignment.
- Gently loosen the mounting bracket wing nut. Twist the sensor body until the light stops blinking and glows solid. Tighten the nut securely.
Once the lenses are clean and perfectly aligned, test the operation using your handheld transmitter. If the door closes smoothly, dust accumulation was the primary culprit.
Step 2: Examine the Garage Door Switch and Wall Console
If the safety eyes are glowing steadily but the door still refuses to travel downward, move your attention to the interior wall console. Your primary physical control hub is the garage door switch. This wired button panel handles manual operations inside the garage space. Modern consoles feature advanced control circuits that go far beyond a simple push button.
Many premium wall panels include a dedicated “Lock” button. This security feature is engineered to protect your villa while you sleep or travel away from home. When the lock mode is manually activated, it completely shuts down the radio frequency receiver inside the overhead chassis. Your wireless handheld transmitters and exterior keypads are blocked from operating the motor assembly.
Look at the indicator light on your wall switch console. If the LED light is flashing rapidly, the system is likely in lockout mode. Press and hold the lock button down firmly for two to three seconds to release the safety hold. The indicator light should return to a steady, solid glow. Try using your remote control again to verify if the wireless signals are restored cleanly.
Additionally, look for loose wiring connections behind the plastic wall console shell. Intense vibrations from a heavy, powerful garage door motor can loosen small copper bell wires over extended periods of use. Ensure both electrical wires are attached firmly to the terminal screws on the back of the switch plate.
Step 3: Check for Physical Track Obstructions
Automated entry systems feature internal force-sensing software built directly into the logic board. This software monitors the electrical resistance encountered by the machine during a travel cycle. If the motor experiences a sudden spike in physical resistance, it assumes the door panel has struck an obstacle. The system stops moving immediately and reverses direction to ensure total safety.
Walk along the inside of your tracking framework while the door is open. Inspect the path closely for physical blockages. Small gravel stones, children’s toys, or loose tools can fall directly into the metal channels. Even a tiny pebble can block a nylon roller, triggering a system reversal.
Look at the physical alignment of the vertical and horizontal rails. Bent tracks force the rollers to bind, which increases the structural workload on your machinery. If the tracks look warped or loose, you may need a professional garage door maintenance session to realign the heavy framework safely. Keeping the channels clear of sand buildup and avoiding heavy greases inside the tracks ensures the rollers glide smoothly.
How to Manually Open Garage Door Systems Safely
Sometimes, a mechanical failure or a sudden regional power blackout leaves you stuck. You might need to exit your property immediately for a business meeting or a school run. In these urgent situations, you must bypass the automated opener and operate the heavy door by hand.
Learning how to safely manually open garage door assemblies is an essential homeowner skill. Every standard overhead system features a dedicated manual bypass mechanism. This is universally identifiable as a bright red emergency release cord hanging down from the central trolley line.
CRITICAL SAFETY WARNING: Never pull the red emergency release cord while the garage door is in the open position. If the internal counterweight springs are broken or unbalanced, the heavy door panel can crash down violently like a guillotine. Only use the manual release cord when the door is fully closed against the floor.
Follow these precise steps to decouple your system safely:
- Ensure the garage door is completely closed before touching the manual bypass.
- Pull the red emergency release handle straight down firmly. This action releases the internal locking lever on the trolley assembly.
- Disconnecting the lever detaches the door panel completely from the motorized drive chain or belt rail.
- Gently grasp the lift handle at the base of the door panel and lift the door upward by hand.
- A balanced door should slide up smoothly along the tracks with minimal physical effort. If the door feels incredibly heavy, stop lifting immediately. This indicates a broken torsion spring that requires expert care.
When municipal electrical power returns, re-engaging the automated motor is simple. Pull the red release cord forward toward the door opening at an angle. This action resets the internal trolley lever to its original locking position. Press your standard garage door remote button. The automated carriage will slide along the rail until it clicks back into the door bracket automatically.
Calibrating Travel Limits and Professional Care
If your tracks are clear and your safety sensors are clean, the issue might be rooted in the electronic memory chip of your machinery. Over years of steady operation, the pre-programmed travel parameters can drift slightly. If the downward travel limit is set too long, the door will hit the concrete floor forcefully. The logic board misinterprets this firm contact as a dangerous physical obstruction, causing the door to reverse upward instantly.
Correcting this issue requires a basic digital calibration. You must adjust the travel settings on your main powerhead casing. Refer to a trusted, professional how to program a garage door opener manual to access your brand’s specific programming menu. You will use the directional buttons on the chassis to teach the computer exactly where the floor level sits, preventing unnecessary reversals.
While basic calibration and sensor cleaning are excellent DIY tasks, certain issues demand expert tools. Broken tension springs, frayed steel lifting cables, and burned-out internal circuit boards cannot be fixed safely without specialized training. Investing in a premium, climate-resilient smart garage door opener or a high-end ATA garage door opener provides excellent internal diagnostic codes that simplify troubleshooting significantly.
To ensure your automated home appliances comply with global safety standards, look for hardware that aligns with regulations maintained by independent consumer protection organizations. The official safety frameworks managed by the U.S. Consumer Product Safety Commission ensure that automatic reverse mechanisms operate with high precision, protecting your family and vehicles from crushing hazards.
Incorporate these visual checks into your routine home improvement schedule. Spending a few minutes cleaning your safety sensors and testing your wall switch functionality prevents major entry disruptions, ensuring your automated home perimeter remains completely secure through every season.
Conclusion
A garage door that refuses to close is a frustrating issue that compromises home security and climate control. Start your troubleshooting process by wiping down dirty safety lenses and checking sensor alignment. Verify that your wall switch console is not locked in vacation mode, and clear away loose stones from the tracking paths. If you must operate the door during an emergency, use the red release cord safely while the panel is fully closed. Regular care and timely adjustments keep your home accessible, reliable, and perfectly secure.
